02 May, 2013

Essence: Circus Circus nail swatches

Oops! This is going to be another (unacceptably) late post of a limited edition collection.  I bought all 3 shades in the Circus Circus polish selection from Essence when it launched 2 months ago and only recently got around to wearing them. Yes, I'm beating myself up about it right now!

The Circus Circus collection had me written all over it with its pre-selected nail colour and glitter combinations. From top to bottom the shades are: 

Applause, Applause
Cotton Candy
My Sparkling Acrobat

By way of apology for my tardiness - and sporadic posting of late - I've done nail swatches of all of the shades in this post. Let's just get right into it, shall we?


Applause, Applause
(red creme polish/red micro-glitter and square glitter)
This was probably my least favourite from the collection - only because I expected the most from it!? I was looking forward to the full Dorothy/Wizard of Oz ruby slippers effect on my fingers and it didn't quite deliver in my opinion.


Cotton Candy
(blue-toned pink creme polish/matching micro-glitter)
The most traditionally pretty combination of the trio.  I love the pink cream shade worn alone almost as much as when it's adorned with the glitter coating. Pretty, pretty!


My Sparkling Acrobat
(black creme polish/gold micro-glitter and square glitter)
The rockstar of this little circus in my opinion! The black and gold contrast is effective and a classic combination.

The Circus Circus collection can still be found in Priceline stores - if you hurry!!!

Until next time

01 May, 2013

Budget beauty: a BYS makeup look


Have you ever tried a one-brand face?  I usually use a combination of brands when doing my makeup but when I realized I had a full face's worth of BYS products to try - by a combination of my own purchases and products received for review - I thought I'd go all out and try a single-brand makeup look.  I'm already a fan of BYS nail colours and matte lippies (see my full matte lipstick review here) so I was curious to try out and do a mini review of some more of their range.  

I've included the Australian prices for local readers (Products marked * were received for review).


Base

Minerals Naturale Compact Foundation (Sand Beige) - $9.95
I prefer applying powder foundation over creams and liquids because it's foolproof and offers easily buildable coverage.  The Minerals Naturale foundation appears a little rough in the pan but I was surprised at how fine and almost creamy it feels when swatched with fingers so I was prepared to invest my $10 and try it.  This foundation is formulated with 100% minerals and when worn over bare skin it delivers very natural and quite sheer coverage so it would be great for younger girls on a budget who want a no-make up look.  I personally do need a little help to cover some localized redness and pigmentation so I prefer to apply this powder foundation over a little primer or add some concealer for greater coverage and a longer lasting finish.  What I do like is the ease and portability of this compact so it's now living in my makeup purse for a quick dusting during the day.

Blush Duo (03 Miss Pink) - $6.95
Oh man, this bright powder blush compact instantly appealed to the young girl somewhere inside me so I had to buy this as soon as I saw it!  These blush shades are 100% matte and provide surprisingly heavy colour pay-off.  So heavy that a quick tap of the blush brush, particularly into the darker pink shade, is enough to get the right amount of colour onto your cheeks.  Because of my fair colouring (and fear of red streaks on my cheeks) I prefer to either use the pale pink shade alone as I've done at the end of this post, or very gently blend the two shades together on the back of my hand before applying to my cheek apples.  I'm not quite up to dolly cheeks!


Eyes


Metallics 8-pan Eyeshadow Palette (Browns) - $4.95*
These eyeshadows aren't as finely milled as some of the high-end brand metallics out there but they do feel nice and creamy rather than powdery and crumbly between the fingers and the colours pack a highly-pigmented punch and metallic sheen on the lids.  I did experience some fallout when applying so a lighter touch is definitely recommended rather than my packing it on - I admit I can be a bit heavy-handed with eyeshadow when I'm not expecting a good colour payoff so I think this eyeshadow palette took me by surprise.  Using three shades (bottom right on the inner lid, bottom left on the outer crease, and top second-from-right for the outer lid and inner crease) I created an accented daytime eye without the need for any eyeliner.  The shades actually lasted all day on my lids too without fading or creasing - for the grand price of $4.95 that, quite frankly, is just ridiculous! The dead giveaway of course is the packaging but the product inside is surprisingly good. 

Lash Fibre & Lash Extend Mascara (black) - $9.95*
These sorts of products make me nervous. Very nervous. Scared actually. I've seen unfortunate bloggers modelling bloodshot, teary eyes after lash fibres floated into their eyes - yikes! Okay, I was understandably nervous trying this product then.  What did I do? I read the package instructions and followed them TO.THE.LETTER.  The Lash Extend mascara is the pre-coat as well as the finishing mascara. This means the pesky little lash fibres have something to stick to rather than flying off and into unsuspecting eyes! I applied a quick coat of Lash Extend, then quickly and carefully applied a coat of the Lash Fibre to my still wet lashes.  I removed any noticeable white clumps before adding a single, final coat of Lash Extend.  I like the fuller, non clumpy lash look and it's about as close as I get to false lashes in my everyday life.  I was still a little nervous of any fallout or flaking during the course of the day but the mascara stayed put.  I know I wouldn't bother doing a two-step lash every day but I really like the idea of wearing extra fluttery lashes for a special occasion or an evening eye without having to glue on falsies. 


Lips

Matte lipstick (Tango) - $3.95*
I have three shades from this line of matte lipsticks now and love them all because they are not drying at all and the colour payoff is intense. Tango is a vibrant blue-based red.

Diamond Shine Lip Gloss (05 Ruby Red) - $3.95*
I wasn't expecting much from this cheap little lip gloss but this really has a lot of saturated colour, with just a little bit of understated sparkle. Sparkly shades can feel a bit grainy on the lips too but this had no noticeable graininess. There was no stickiness either and I liked the subtle cherry scent.  I applied this over Tango and it added shine and and vibrancy to my lips for a more orange-red juicy lip. Did it bleed? No.


The swatches
Left to Right:
 Blush Duo -  (03 Miss Pink - soft pink shade)
Metallics Eyeshadow (Browns as worn on lid, inner crease, outer crease)
Matte Lipstick (Tango) 
Diamond Shine Lip Gloss (05 Ruby Red)


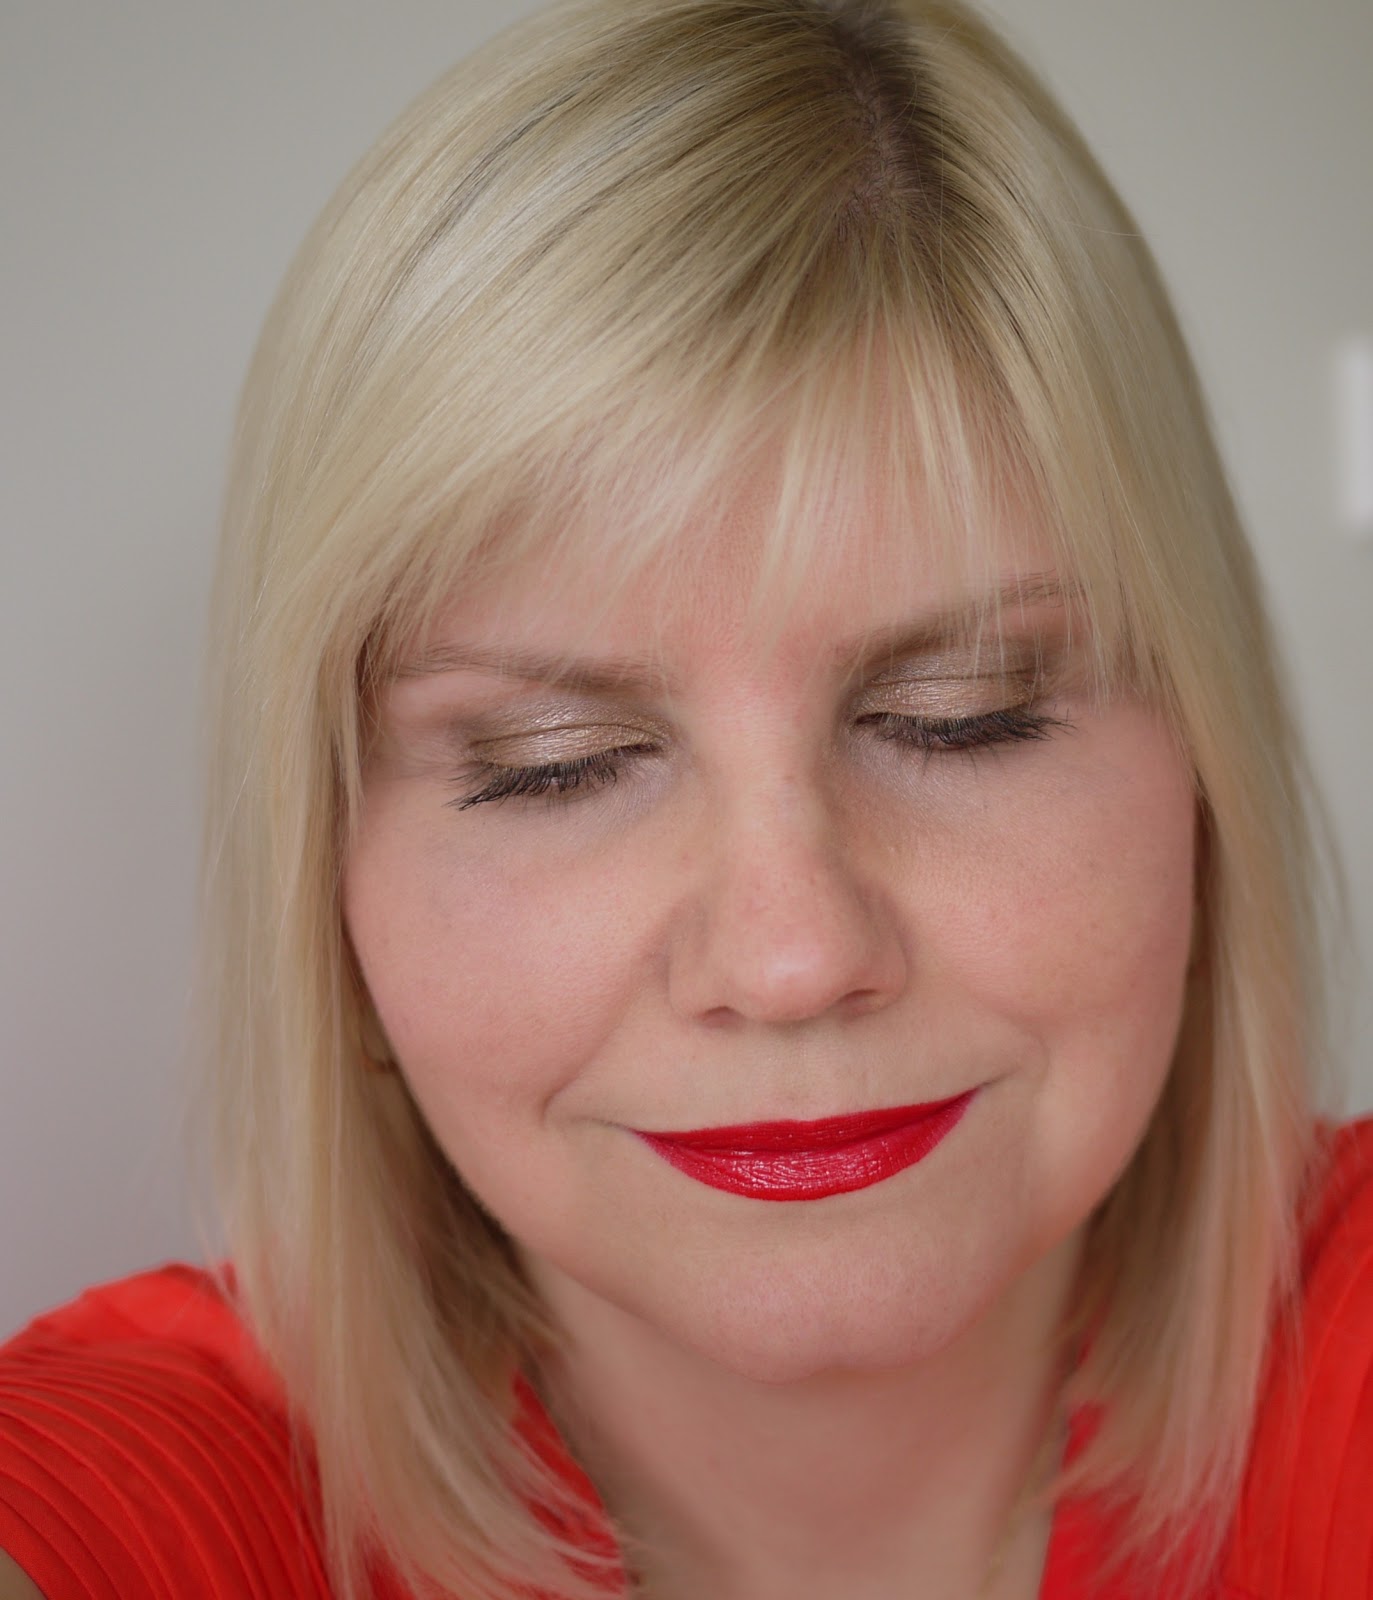
The face 

(For those of you who haven't seen me on Instagram - Hello!)

Total cost:  $39.70

All of these products are available online at Fashion Addict or in-store at the following Australian locations:  KMart, Gloss or Cosmetics Plus.

(Some of these products have been provided for my consideration.  All comments and opinions are my own.)

28 April, 2013

Maybelline: Sapphire Siren

What's a girl to do when she's faced with a 3 for 2 beauty product offer and she doesn't know what to choose for her third product? Why not throw a bottle of nail polish into the basket? Well, that's how I think anyway!  Right the scene's set:  I'd chosen two backup products from Maybelline and the lovely deep blue Sapphire Siren polish caught my eye as the possible third.  I honestly hadn't been impressed by the look of the product in the bottle when the Color Show Nail Collection first launched a few months ago - I don't know, it just looked rather watery, and the pigment was actually visibly settling in some of the bottles.  Not promising at all.  I passed back then but figured this time my choice was effectively a freebie so it wouldn't hurt too much if it really was a dud polish. 

It turns out the polish wasn't too bad after all.  Not fantastic, but not terrible by any means. The application was smooth, and not too watery, although the coverage was a little on the sheer side.  For such a deep shade as Sapphire Siren I would normally expect 100% opaque coverage in 2 coats - which is what I applied - but I can see 3 coats would be needed for that coverage I'm used to.  The colour itself is a lovely autumn/winter almost navy blue with just the teeniest leaning towards teal. Nice.

All pictures taken in cloudy conditions:


Have you tried any shades from the Color Show Nail Collection?

Until next time.

25 April, 2013

Caviar mani: BYS Caviar for Nails - Jane Bond

I've been curious about caviar or fish egg manicures ever since I first saw them but I was a little unsure so I've held back - until now...

As Australian budget nail polish brand BYS recently launched a version of their own, appropriately called Caviar for Nails, I finally decided to try out the trend.  It was ridiculously easy - literally easy, peasy - to do too.  I'd seen and feared the caviar sprinkle application method because it looked so messy (you shake the caviar onto wet nails) but the BYS kit carries the caviar beads in a little tub that you simply dip your freshly painted, wet nails into.  I applied two coats of colour for a thick base, rolled my wet nails into the caviar tub to coat them thoroughly, then used the small brush included in the Caviar for Nails kit to pat them down gently.  Finally I sealed the tips with a touch of top coat and -  voila! - some not too shabby looking caviar nails!

For this look I used the black Jane Bond Caviar on my ring and pinky fingers and paired that with the contrast of metallic silver polish (Revlon - Silver Dollar):


Each Caviar for Nails kit contains:  coloured polish, a tub of caviar in a complimentary shade and a small brush for finessing your application.

There are 10 shades in the range and they retail for $7.95AUD each.

BYS Caviar for Nails can be purchased online from the Fashion Addict or BYS websites, or in-store at the following Australian locations:  KMart, Gloss or Cosmetics Plus.
 

(These products have been provided for my consideration.  All comments and opinions are my own.)

18 April, 2013

Catrice: Iron Mermaiden

I received my first ever Catrice polishes in a swap some time ago with the lovely Ina (see here) and I was lucky enough to score the cool toned duo-chrome Iron Mermaiden.

I actually think this is more multi-chrome as the metallic silver switches from pink to green-toned depending on the way it catches the light.  It was a little sheer in application so I needed three good coats to get full opacity but the result was worth it.  I loved the cold metallic, almost mirror finish and found myself checking out my nails more than once, tilting them this way and that to catch the flashes of colour.  These polishes are always a challenge to photograph and inevitably they look more eye-catching in real life but anyway here are LOTS of pictures...

Indirect daylight


Direct daylight

That's it for tonight!


17 April, 2013

REVIEW: Nude by Nature Natural Mineral Cover

The Nude by Nature range of mineral makeup products has been spruiked on Australian television for a few years now and I'm sure lots of you Australian readers have flirted with the Nude range.  I'm not always quick to jump onto trends (and clearly I'm way behind the pack here) but this was my first experience with their Natural Mineral Cover.  So, why not share my impressions anyway?  These are the impressions of an NC20 coloured, combination skinned, mildly pigmented middle aged female...


Firstly here are the claims as directly quoted from Nude's website:

"...Taking the concept of minerals to the next level, we took out the bismuth, that can irritate sensitive skin and appear cakey on the skin, and left only the ingredients that help to create the perfect, flawless, airbrushed complexion, NATURALLY!..."

"...Remarkably enhance and even out your natural skin-tone with a swirl of Natural Mineral Cover. This genius formulation is sure to impress when it covers redness, enlarged pores and birthmarks and is so gentle you can even use it on rosacea!"

"The beauty of this product is its ability to look like skin, not powder, with Kaolin Clay included, this Natural Mineral Cover allows it to mould easily with the natural oils in your skin. With no talcs, parabens and bismuth, you have a product that not only works, but is perfect for the most sensitive of skins.
It also contains SPF 15 ensuring you’re protected from the harsh damaging rays of the Australian sun."


There's absolutely no denying this is a fantastically gentle product and free from many nasties which can irritate sensitive skin but did I achieve that "...perfect, flawless, airbrushed complexion" that I crave?  

I've definitely been spoiled by the full coverage mineral makeup I've used in the past so my standards were set at a certain high-ish level.  I expected flawless, luminous coverage, and longevity of wear - and I've come to expect that kind of cover over bare (read:  moisturised but otherwise unprimed) skin.  Firstly I tried brushing this loose powder over bare skin and I found the coverage to be quite sheer, although I was able to build it to a medium coverage with repeated applications.  Whilst it did look natural I found I missed the glow I've become accustomed to, which is possibly due to the lack of boron nitrate - I'm no mineral scientist - I just did a direct comparison of ingredient lists and found the luminosity was attributed to boron nitrate in the other product.  Finally, the coverage disappeared from my t-zone all too quickly so I needed powder touch-ups throughout the day to cover my shiny and glowing nose.  

The good news is - ta-dah! - worn over primer the intensity and longevity of coverage was improved significantly so it lasted all day and into the evening.  Yes, I finally caved and introduced primer into my makeup repertoire which I didn't plan on having to do so that was a bit of a disappointment.  The other disappointment was the definite lack of luminosity but I suppose that is a matter of personal preference.  You're either going to go for the glow or the matte.  

Pros:
  • Does not contain bismuth, talc or parabens
  • Suitable for extremely sensitive skin
  • Buildable coverage
  • Non-cakey finish
  • Creates a soft matte finish
  • Non-mess packaging
  • Contains SPF15
  • Available in 5 shades - Fair, Light, Light / Medium, Medium & Dark
Cons: 
  •  Requires primer to maximize coverage and wear time
  •  Lacks the luminosity of some other mineral makeup brands

Would I buy this again?
I admit I'm enjoying wearing this product more now that I've introduced primer but I do miss my dewy glow.  This isn't a holy grail product for me so I know I'll be back out there on my journey looking for the next best thing in mineral makeup once I finish this pot.

Until next time,

14 April, 2013

Reverse glitter gradient manicure

Here's a quickie glitter art post for the weekend!

I've done a few glitter gradient mani's but this is my first ever reverse version. It requires the same application method but starting from the base of the nail rather than the tip, working one coat of glitter polish half-way down the nail, then finishing with another layer of glitter only going one-third of the way down the nail. 

I find glitter gradients such an easy way to dress up a plain manicure and I was really pleased with this regal combination of purple and gold:


Nail polish shades used from left:
OPI - Tomorrow Never Dies, Australis - Eureka

Thanks for looking!

Related Posts Plugin for WordPress, Blogger...